
Plugin Development Guide
This guide will walk you through the process of creating and integrating a plugin for MicroPowerManager (MPM).
Overview
Plugins are modular components that extend MPM's functionality. Each plugin consists of:
- Backend package (
src/backend/app/Plugins/{plugin-name}) - Frontend module (
src/frontend/src/plugins/{plugin-name})
Quick Start
Prerequisites
- Running advanced development environment with local PHP installation
- Basic knowledge of Laravel and Vue.js
Create Plugin Template
From the root directory of MicroPowerManager in your local development environment, run the following command:
bashcd src/backend php artisan micropowermanager:new-plugin {plugin-name}Replace
{plugin-name}with the desired name of your plugin.This command:
- Creates plugin backend code
src/backend/app/Plugins/{plugin-name} - Creates plugin frontend code
src/frontend/src/plugins/{plugin-name} - Automatically generates and registers a new plugin id
- Automatically performs basic plugin registration (for example in frontend routes and backend plugins table)
- Creates plugin backend code
Post-Creation Setup
- Review generated code structure
- Follow integration steps below
Example Plugins Check existing plugins for reference:
- Payment providers (e.g., Calin, Vodacom)
- Meter manufacturers (e.g., SteamaCo, Spark)
- SHS manufacturers (e.g., SunKingSHS, Spark SHS)
- Feature plugins (e.g., Asset Management)
Integration Steps
The following steps describe how your plugin is integrated with MicroPowerManager.
Most of the fundamental boilerplate setup is handled automatically when you run the artisan micropowermanager:new-plugin command. We won’t go into those generated details here as you can always inspect the changes using git diff to understand what was created behind the scenes.
This guide focuses on the custom integration steps required to extend and connect your plugin to the system.
Backend Integration
The backend integration process involves several key steps to make your plugin discoverable and functional within MicroPowerManager.
Register API Routes
If your plugin needs to handle API requests (e.g., webhooks, custom endpoints), register your route resolver:
// src/backend/app/Services/ApiResolvers/Data/ApiResolvers

class ApiResolverMap {
    // ...other API constants
    public const YOUR_PLUGIN_API = 'api/your-plugin/callback';

    public const RESOLVABLE_APIS = [
        // ...other resolvable APIs
        self::YOUR_PLUGIN_API,
    ];

    private const API_RESOLVER = [
        // ...other API resolvers
        self::YOUR_PLUGIN_API => YourPluginApiResolver::class,
    ];

    public function getResolvableApis(): array {
        return self::RESOLVABLE_APIS;
    }

    public function getApiResolver(string $api): string {
        return self::API_RESOLVER[$api];
    }
}
Database Setup
Your plugin will might need several database migrations to integrate with MPM:
Create Plugin Tables
If your plugin needs to create database tables, the migrations should be placed in the database/migrations folder.
The recommended way to create a migration is by using the following command:
php artisan make:migration-tenant create_your_plugin_tableThis ensures the migration is generated with the correct configuration for the multi-tenant environment used by MPM.
Customise Installation Command
The package generation command already creates a basic plugin installation command.
This command is executed when a user enables your plugin for the first time via the plugin settings menu.
If your plugin requires additional one-time configuration, such as
- creating default credentials
- performing initial setup tasks
you can adapt and customize the installation command accordingly.
<?php
namespace App\Plugins\NewTestPlugin\Console\Commands;

use Illuminate\Console\Command;

class InstallPackage extends Command
{
    protected $signature = 'new-test-plugin:install';
    protected $description = 'Install NewTestPlugin Package';

    public function __construct() {
        parent::__construct();
    }

    public function handle(): void
    {
        $this->info('Installing NewTestPlugin Integration Package\n');

        // Here you can add plugin initialisation code.
        // For example creating initial plugin credentials in the database
        // or registering a Manufacurer with MicroPowerManager.

        $this->info('Package installed successfully..');
    }
}
Payment Provider Plugins
If your plugin is a payment provider (processes transactions from an external payment gateway), there are additional integration steps required:
Register in the
PaymentProviderenumAdd a case with your plugin's MpmPlugin ID to the
App\Enums\PaymentProviderenum, which lists all payment provider plugins.phpenum PaymentProvider: int { // ...other providers /** Your Provider */ case YourProvider = MpmPlugin::YOUR_PAYMENT_PROVIDER; }If your provider only receives payments through gateway callbacks (inbound only), this is all that is needed. If it also supports initiating payments from MPM, continue with the next steps.
Implement the
PaymentInitiatorinterfaceYour plugin's transaction service must implement
App\Services\Interfaces\PaymentInitiator. This enforces a consistentinitiatePayment()method that creates the provider-specific record and an associatedTransactionentry.phpuse App\Services\Interfaces\PaymentInitiator; class YourProviderTransactionService implements PaymentInitiator { public function initiatePayment( float $amount, string $sender, string $message, string $type, int $customerId, ?string $serialId = null, ): array { // 1. Create your provider-specific transaction record // 2. Create the associated Transaction record // 3. Call your provider's API if needed (e.g. to get a redirect URL) // 4. Return ['transaction' => $transaction, 'provider_data' => [...]] } }Register in the
PaymentInitiationProviderenumAdd a case to the
App\Enums\PaymentInitiationProviderenum and map it to your transaction service ininitiatorClass(). This is required for your provider to appear as an available payment option in the UI. Give the case a short docblock with the provider's display name — this enum is rendered in the public API documentation.phpenum PaymentInitiationProvider: int { // ...other providers /** Your Provider */ case YourProvider = MpmPlugin::YOUR_PAYMENT_PROVIDER; public function initiatorClass(): string { return match ($this) { // ...other providers self::YourProvider => YourProviderTransactionService::class, }; } }Provider validation
Payment validation (device ownership, minimum purchase amounts) is handled via the
ITransactionProvider::validateRequest()interface andAbstractPaymentAggregatorTransactionService::validatePaymentOwner(). If your provider receives incoming payment callbacks, implementITransactionProviderin your provider class to plug into the existing validation pipeline.
Frontend Integration
This section describe how to integrate your plugin with the MicroPowerManager frontend.
Add Plugin Routes
The package generation command creates a default Overview page and registers a frontend route, making your plugin accessible and visible in the application sidebar.
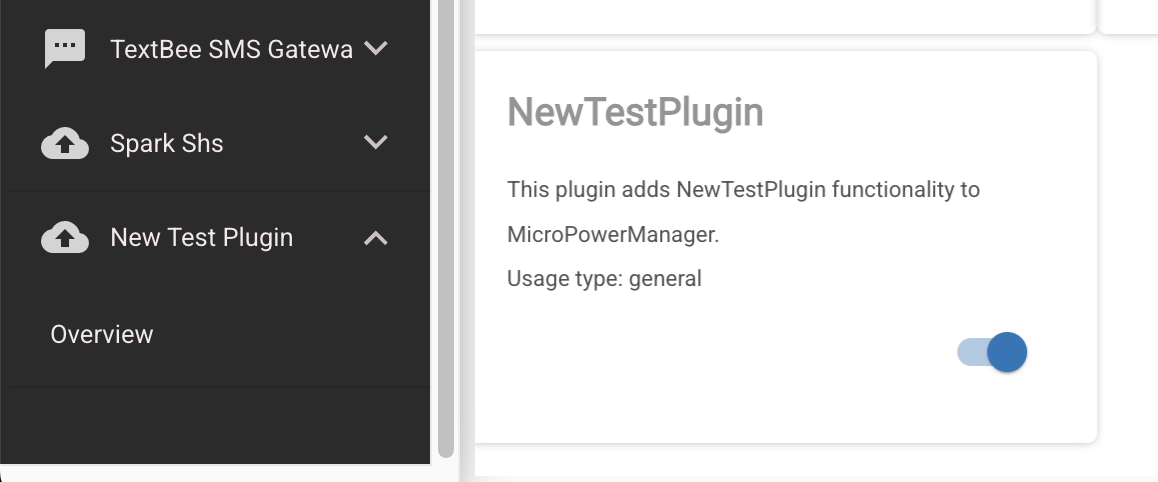
If your plugin requires a more complex routing or sidebar structure, you can modify your plugin’s section in ExportedRoutes.js accordingly. The sidebar icon can also be customized in this file to better match your plugin’s functionality or branding.
// src/frontend/src/ExportedRoutes.js

import YourPluginOverview from "./plugins/your-plugin/modules/Overview/Overview"

export const exportedRoutes = [
  // ...other routes
  {
    path: "/your-plugin",
    component: ChildRouteWrapper,
    meta: {
      sidebar: {
        enabled_by_mpm_plugin_id: 19, // Your plugin ID from MpmPlugin
        name: "Your Plugin",
        icon: "plugin-icon", // Choose an appropriate icon
      },
    },
    children: [
      {
        path: "your-plugin-overview",
        component: YourPluginOverview,
        meta: {
          layout: "default",
          sidebar: {
            enabled: true,
            name: "Overview",
          },
        },
      },
      // Add more routes as needed
    ],
  },
]
Customising the Registration Tail
The Registration Trail is displayed after each login once your plugin has been enabled by a user. Its purpose is to indicate that additional configuration steps may still be required.
The component shown in the trail is configured by registering a global component within your plugin’s namespace in main.js.
By default, the package generation command registers the plugin’s overview page.
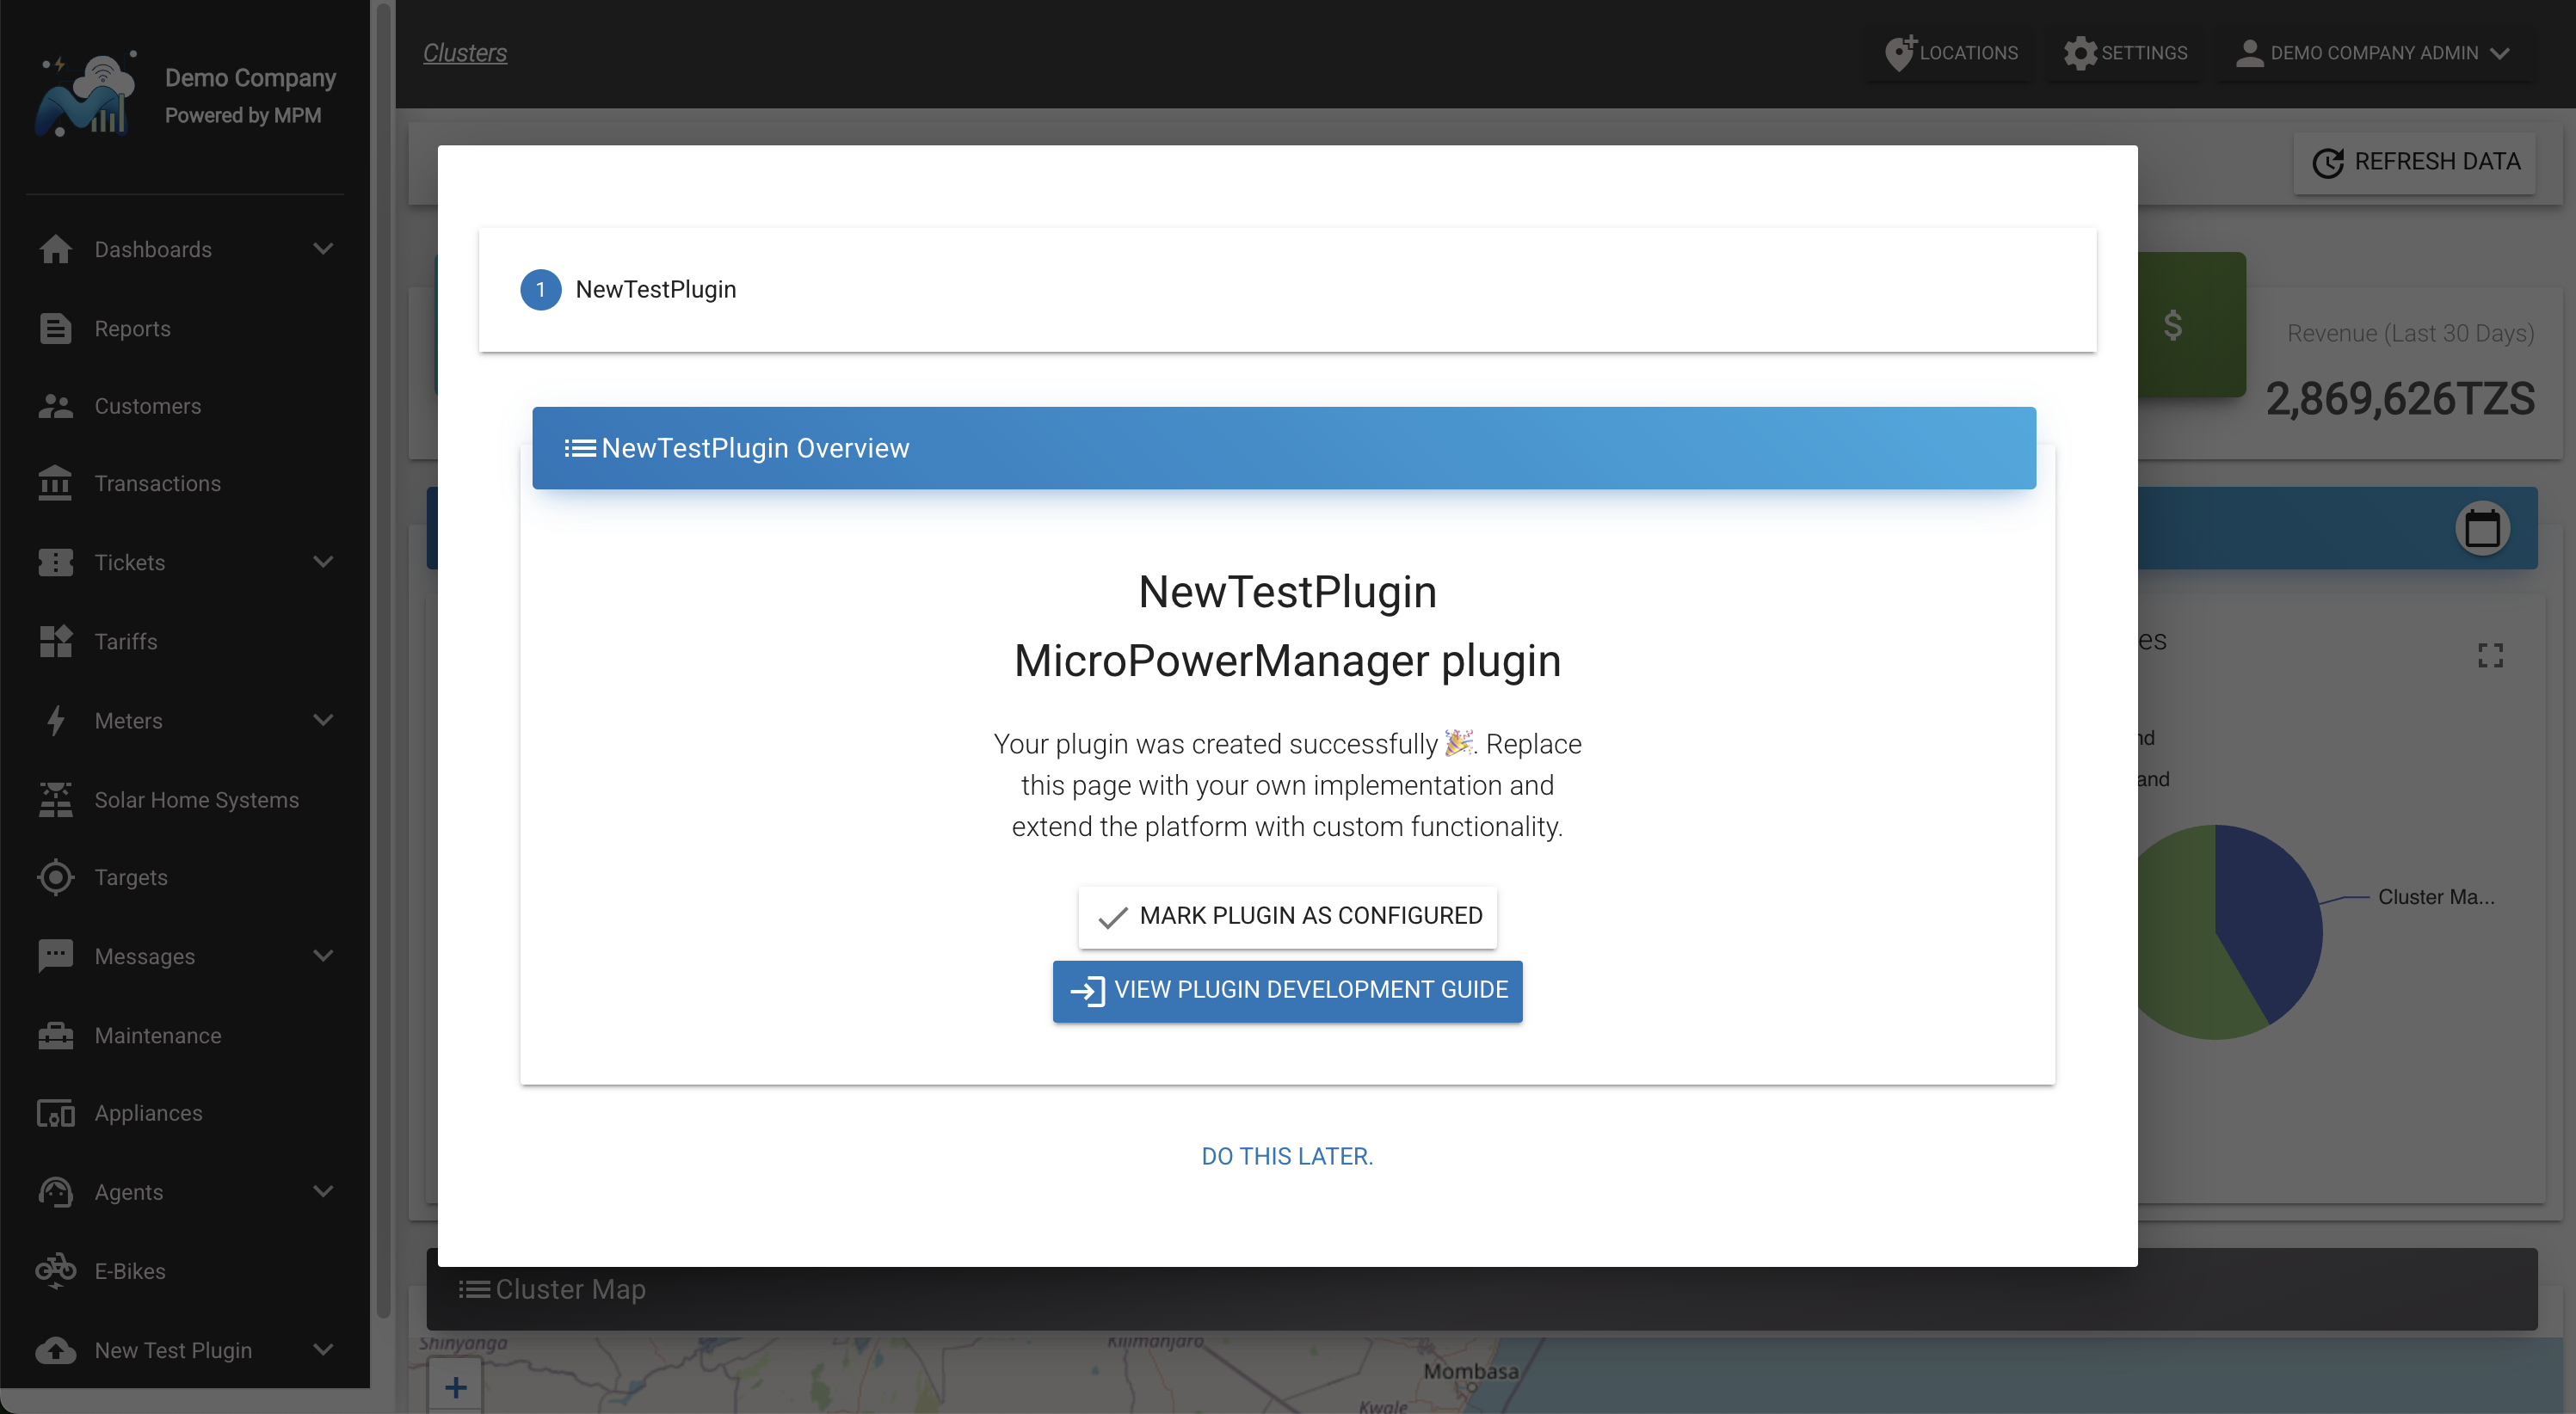
However, in most cases you will want to replace this with something more meaningful. For example a configuration screen or credentials setup page to guide users through the remaining setup steps.
// src/frontend/src/main.js

import YourPluginsOtherComponent from "@/plugins/your-plugin/modules/Overview/SomeOtherComponent"

Vue.component("Your-Plugin", YourPluginsOtherComponent)
Closing the RegistrationTail
To signal to the application that the user has completed the registration process, emit an event with your plugin’s name to the shared EventBus.
Once this event is received, the Registration Trail will be closed and will no longer be shown on subsequent logins.
import { EventBus } from "@/shared/eventbus.js"

EventBus.$emit("Your-Plugin")
Advanced configurations
WARNING
This section needs expansion.
- Add plugin pages to Role-based access control (RBAC)
- Creating external endpoints and using access keys
Testing Your Plugin
Install the plugin:
bashphp artisan your-plugin:installor enable the plugin via the Settings UI.
Verify database setup:
- Check migrations ran successfully
- Verify tables were created
- Ensure plugin is registered in
mpm_plugins
Check frontend integration:
- Plugin appears in sidebar
- Routes are accessible
- Components render correctly
Best Practices
Code Organization
- Keep your plugin self-contained as much as possible
- Follow the established directory structure for consistency
- Use the MPM core services when appropriate to maintain integration
Testing
- Test all features thoroughly
- Verify database operations
- Check frontend functionality
Document your plugin's features and configuration requirements
Use proper versioning for your plugin package
Remember to check existing plugins for reference implementations that might help guide your development.